Building a keyboard with rotary dial
Note: This page will be updated as I advance this project
As you may have noticed, Christmas are around the corner, and I am not gonna lie, getting presents
is not one of my strengths. I was really struggling to come up with a gift for my father. That was,
until my mom said something along the lines "It's a shame that it's too late for you to make him that
keyboard with rotary dial".
*eurobeat starts playing in the distance*
What
Last year I stumbled upon this thing
on tumblr, I think, does not matter. What matters is that my mom ended up seeing it and thought that
it would be a great gift for my dad. Unfortunately I wasn't able to make it in time for last Christmas,
nor for his birthday in April, since I had my university finals. I completely forgot about it after that.
Until last weekend.
I think my dad could appreciate it. It may not be the most practical gift ever, but he might find it
amusing. He worked for various telephone companies all his life.
So what's the plan
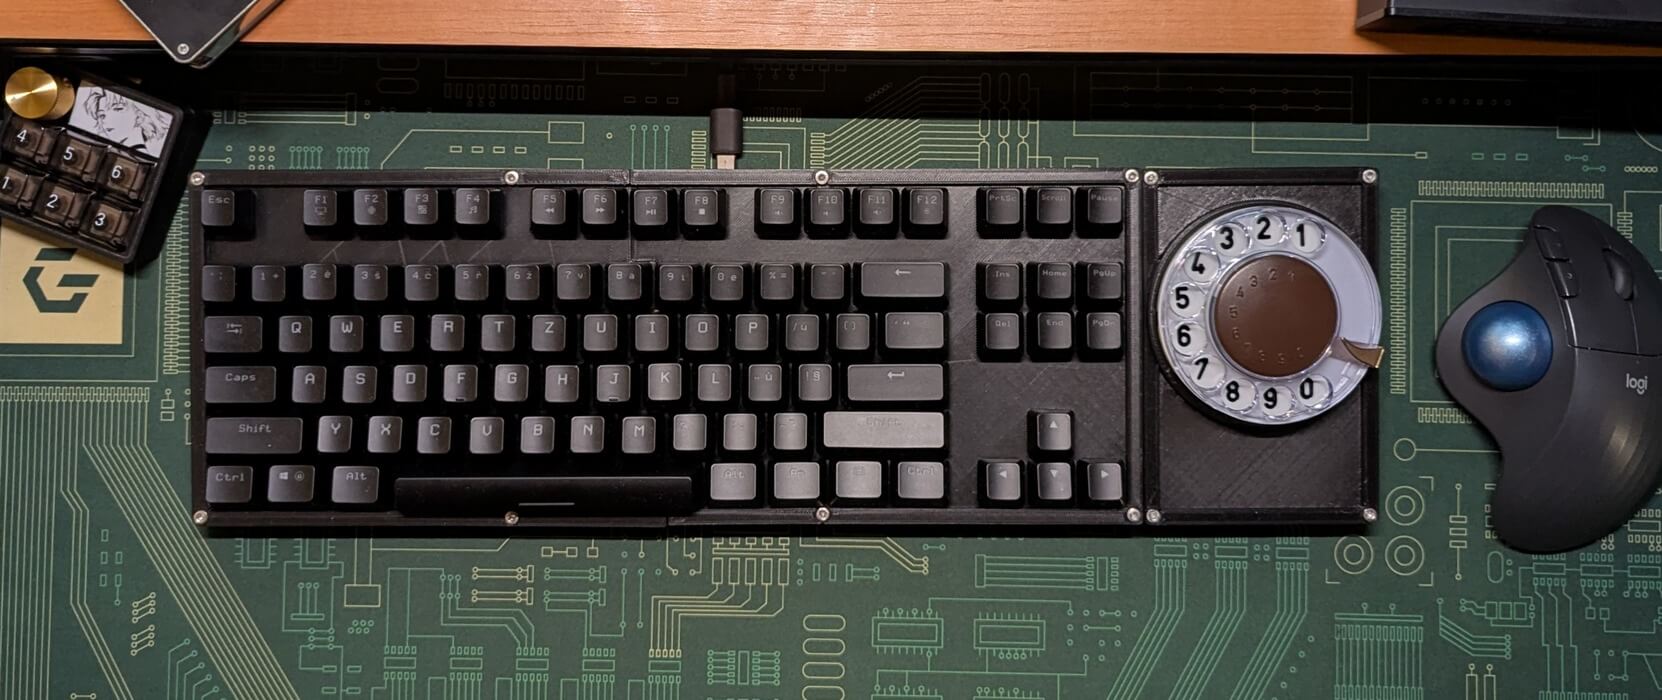
I'm building a mechanical keyboard from scratch. I'm 3D printing the body, using
this model as a base. I'm modifying the model in a few ways. I don't have hot swap sockets,
so I'm cutting most of the middle layer to make room for handwiring. I'm completely remodelling
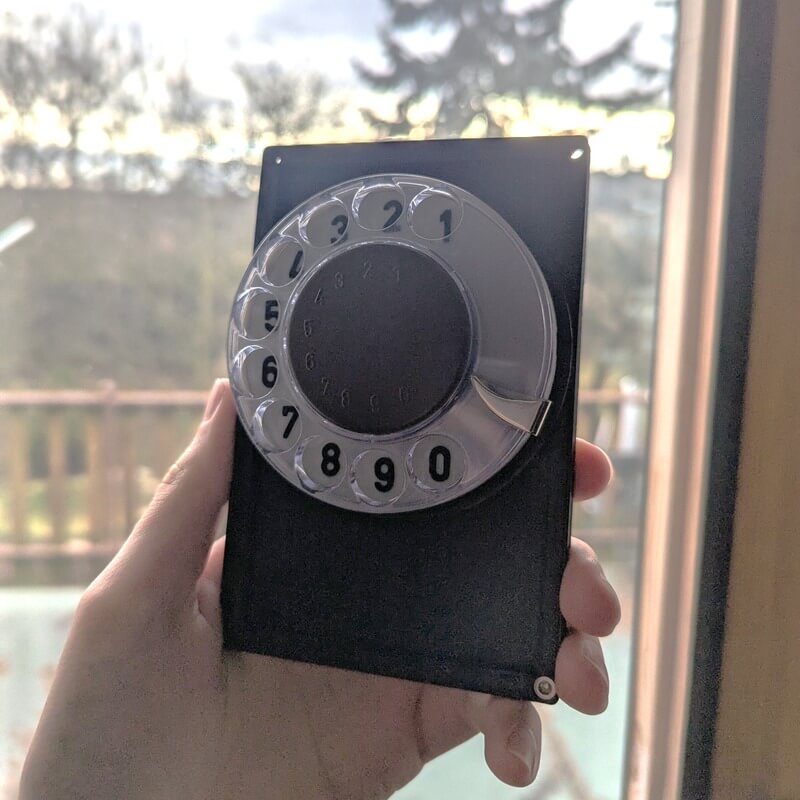
the numpad. Getting rid of all the switches and making a big hole for rotary dial.
Speaking of rotary dial, I found a way to connect it to a computer using arduino. However, I do not have
enough time to make it work with QMK, that I'm using for the firmware part of the project. So the plan is,
and I am aware how horrible this solution is, to get a cheap USB hub, and connect both Pro Micro running the
keyboard firmware and the arduino nano reading the inputs from the dial. Then I'll solder a USB cable
straight
to the hub, since the one I got for this project has really short cable.
Project report: 16-DEC-24
I started printing the top parts. Got both parts of the top plate. Luckily I had some spare switches
laying around (Yenkee by DUROCK JWK T1 Teal tactile 67g) and one set of keycaps with czech legends - I
took the off the keyboard I built for my sister. I already had some spare Pro micros and one Arduino nano,
but I might look around for another one, since this has soldered pins and I am too lazy to desolder
all of it. I got rotary dial from my mom, since dad had one laying around in their bedroom (?) and mom
asked if she can keep it. I got connectors compatible with the ones already on the dial, in case my dad
decides he needs his dial back I don't want to damage the original leads.
Yesterday I started modelling the top part of my numpad. I eyeballed most of it, and pretty well if I
say so myself, but run out of free time. I want to move things a bit today, I really want to have most of
the numpad module printed this evening.
It is going to be a bit challenging, since my eyeball engineering worked pretty well for the irregular
shape of the bottom housing of the dial, but it is a couple degrees tilted as well, and I completely messed
that up yesterday. I printed several prototypes and none of them has the right tilt.
I ordered some stabilisers, since I didn't have any plate mounted at the moment. But they sent screw ins. I
contcted the support and they said they'd sent me the right ones, but I'm afraid they won't make it in time
for Christmas, since it is not available anywhere in my country and I had to order it from Germany.
17-DEC-24
Progress slowed down a lot today. I'm still finishing schoolwork and I only had time for 3D printing in the evening. That being said I managed to print the plate that the dial is gonna sit in. It looks quite good.
18-DEC-24
I worked from home today so I had some time to print more parts. I stated with the bottom of the numpad, then
I edited the middle part of the model, since I don't have any hot swap sockets at the moment I had to make a
hole under every switch so I'd be able to handwire it later. I considered editing the middle part out, but
I realized it would be better to keep it so I don't have to make major changes to the top and bottom parts
for
structural support.
I am running out of time and I have the biggest parts yet to print, it can't fail. The preassure is on.
In the evening I completed the numpad part, both parts printed, dial screwd in and wired to arduino nano.
20-DEC-24
At first, I was like "Eyeball engineering 🤠", but now I'm like "Eyeball engineering 😔". I made some
oversights and had to attach the arduino inside of the numpad with hot glue gun.
Only after that did I find out that the arduino nano does not support communication via USB and I would have
to write special software to interpret serial communication to keystrokes. Lit. So I had to remake the
wiring with one of my spares Pro Micros. Sadge.
21-DEC-24
My sister came with her husband and kids to spend some time with us before Christmas, which is cool and I love them, but I do not want to be responsible for the first microplastics in the bloodstreams of my nephwes, so I had to move the 3D printer to my bedroom and print there. My brother is making fun of me that I'm hotboxing the bedroom, but there is no other choice. I have the longest prints for last.
22-DEC-24
All the prints are done. It is very rough around the edges, some of the parts are not as good looking as I
wanted it to look, but I do not have time to reprint it. If my dad wants to, I will gladly rebuild the whole
keyboard since it is going downhill quite fast.
I started wiring but I'm afraid I won't have enough diodes.
23-DEC-24
So I run out of diodes. At first I thought that I would have to disassemble one of my keyboards, since I
already have to salvage the stabilisers from one (the replacement stabs did not in fact came in time), but I
tried asking my dad if he had any spare diodes. Luckily, he had a bunch old-stock (70s- or 80s) diodes that
were fine to use, so I finished soldering the diodes and started wiring the columns.
I spent around 6 hours straight soldering. That was not fun, since my family was starting with the Christmas
chilling.
I am fed up with it and I'll finish it tomorrow morning.
24-DEC-24
So today is the New Year's eve. In my country the tradition goes so we give gifts in the evening. And I have
small crisis here. The wiring I did yesterday? Yeah I followed the wiring guide made by the person who
designed the keeb that I'm using as a base for this monstrosity. What I overlooked is that they used Teensy
I have none and Pro Micro does not have enought pins for the matrix. I really do not have the time or
materials
to remake the matrix, so I had to use something with more pins. My only choice is the Raspberry pi pico.
However.
I only ever bought two. One is inside of my brothers custom keyboard (we had the same matrix problem
already),
and the other is inside of my Wheatley Crab, responsible for eye animations.
I decided to sacrifice Wheatley. But I completely destroyed the pico while trying to desolder the pins,
since
there is not enough space for the whole controller with pins inside of the keyboard. I was about to only
gift
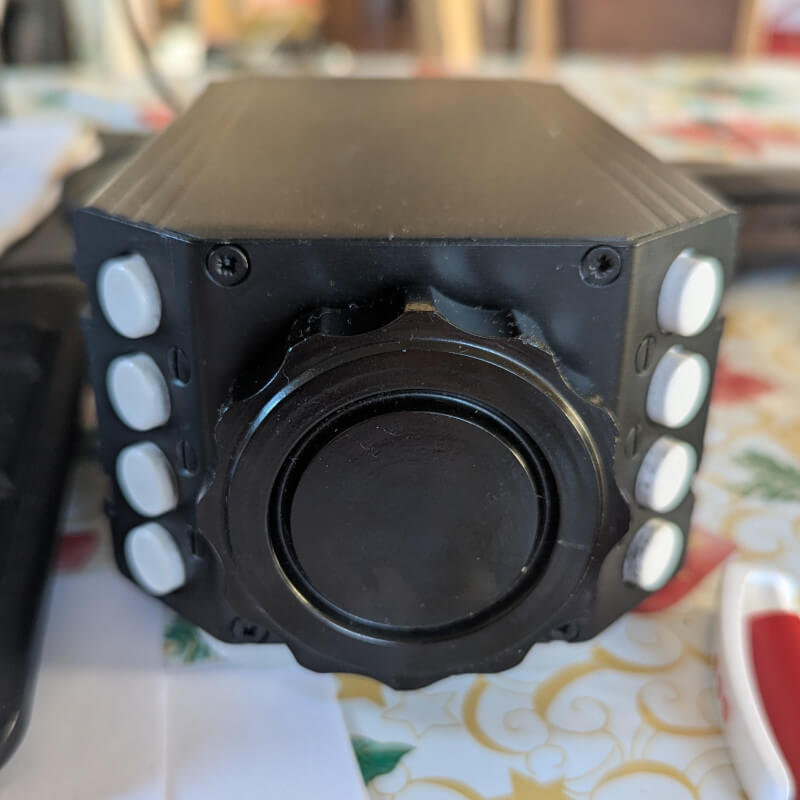
my dad the rotary dial part, since it has its own controller and USB port on the side, making it a unit that
can work by itself, even though the cable placement is awkward.
My brother came in clutch and offered to give me the pico from his keyboard under the condition that I'd
wire
it up for him once I get new picos.
I managed to finish wiring the keyboard, fix the mistakes and edit the firmware just in time for
lunch.
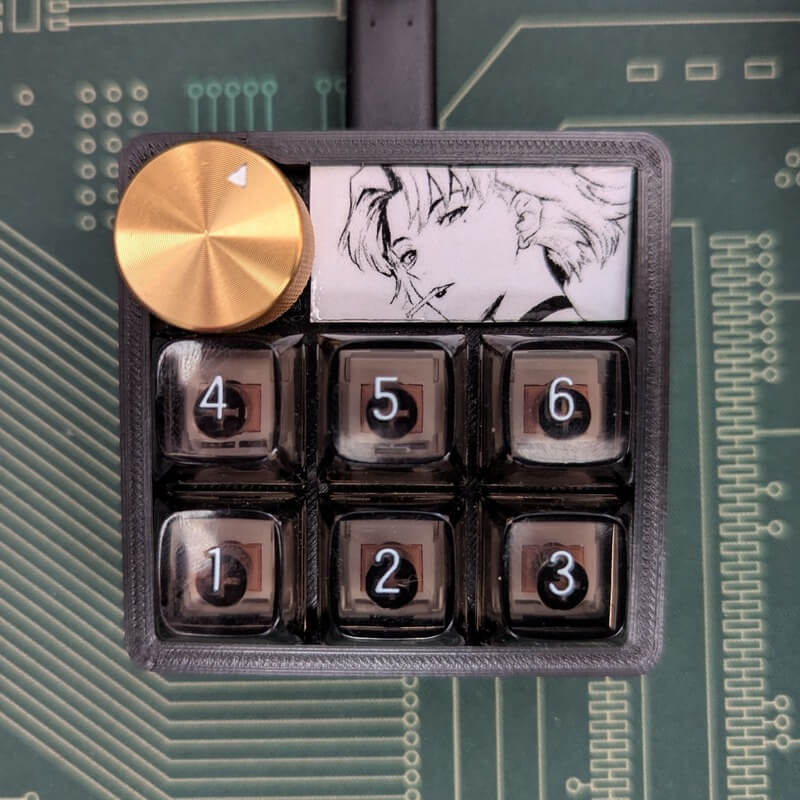
This fall I did a special "macropad" with my dad, so he can use it with his software radios. My dad says
that
everything my grandpa ever did always worked flawlessly, but it had a strong DIY vibes. He also said that
the
things he did always looked perfect, but had the tendency to not work quite as he wished it would. But this
"macropad" looks and works perfect (he built the case and provided all the hardware and wiring, I set him up
with wiring diagram and programmed the controller).
So this Christmas, I'm giving my dad a thing that I made, and not only does it look horrendous, but "60% of the time it works everytime" (there are some bugs with the rotary dial and the prints came out mostly not-good, BUT I do not have time to debug it, so I came in peace with the fact that I'll have to rebuild this whole thing once I have more time to do so.)


